

If you sell anything online, you know how important it is to produce high quality images to showcase your designs. In this post, I will show how I use Photoshop to edit my images to give them a little pizzaz. You can take an ordinary photo and transform it into something truly amazing like the BEFORE and AFTER photos above.
Let me preface this tutorial by saying that I am using the approach that you know very little about Photoshop. If you are an advanced or experienced user, you might find it overly simplified. That being said, I have tried to break every step down incrementally to show you exactly how it is done.
In this tutorial, I am using a Mac computor with Photoshop C6. Since I design and sell jewelry, I will be using a photo with a pair of earrings as an example.
Okay, let's get started!
First make sure you have a high quality photo that is crystal clear. Here is my original photo without editing other than cropping the size down.

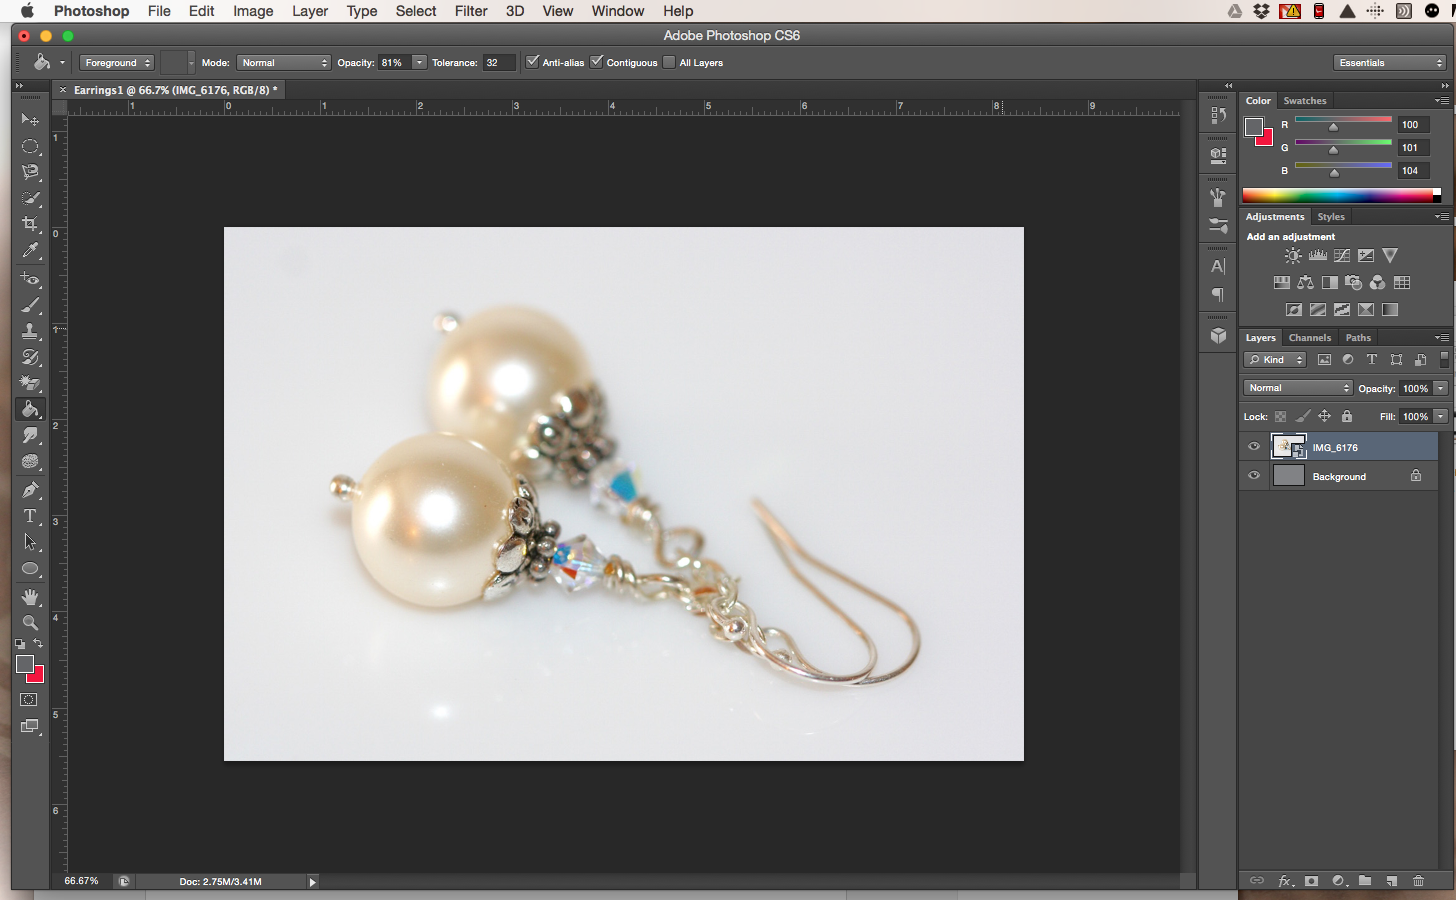
1. Open up Photoshop. Here is a screenshot of my Photoshop screen:

2. Create a new file. To do this click on File at the top of your screen and in the drop down menu click New:

3. A pop-up window will now appear prompting you to name your file. By default it is called Untitled. Rename it - I am naming my file Earrings1. In the same pop-up window you can set the size. The size will likely be a default size, so be sure to check and change the size if you need to. I have set the size of my file to 1200 pixels width by 800 pixels height. Now click OK.

Here is a screenshot of my new blank file:

4. Duplicate your layer by right clicking on Background layer, then select Duplicate Layer.

You will now want to work in your Background copy layer. Notice the Background Copy layer at the right side of your screen is highlighted - this is how you know that you are working using that layer and not the original Background layer.

5. Now working in your Background Copy layer, choose a foreground color. To do this, click on the Foreground Color icon at the left of your screen - it looks like two little colored squares. Clicking on the top little square of this icon will cause a pop-up window to appear labeled Color Picker (Foreground Color.) Note that if you click on the bottom little square, you will be selecting a Background Color instead of Foreground Color.
What's the difference between Background and Foreground? Photoshop uses the foreground color to pain, fill and stroke colors. The background color is used to fill in erased areas of an image.
Now in the Color Picker window click on a color of your choosing. Since I want some contrast against the somewhat light grayish white background in the photo, I am selecting a medium to dark gray background color. Press OK to confirm your color choice.

6. Next click on the Paint Bucket tool on the left side of your Photoshop screen. Left click the little paint bucket over the white background with the paint bucket to "paint" your foreground. Here is my new gray colored foreground:

7. Now drag your photo to inside the file. You will have a big X across the screen until you have finished placing the photo. To place the photo, click on the check mark at the top of your screen.

After placing it, the big X across your photo will disappear:
8. Click on the Ellipse tool and place your cursor in the middle of your photo and left click. A small box will pop up prompting you to Create Ellipse. By default, the size of the ellipse is set to 100 x 100 pixels as shown below:

Go ahead and change the size to 1200 x 800 pixels. Then click OK:

9. You will now see an elliptical oval encircling your photo. Now right click anywhere outside the ellipse shape and click Make Selection in the pop-up window:

A small box will appear entitled Make Selection. You will see an option for Feather Radius which by default is usually set to zero.

I am setting the feather radius to 110. The higher you set it the more "feathery" the edges of your photo will be against your darker background.

9. Now right click again outside the dotted elliptical shape and click on the option Rasterize Layer.

10. Next click on the word Select at the top of your Photoshop toolbar. Then from the options given click Inverse.

Now your file will also have a dotted line around the entire file looking like this:

11. Click on Edit at the top of your Photoshop tool bar and from the options click Clear. Here is what your image will look like:

12. Now you are finished except for Saving your file. To save, click on File at the top of your Photoshop toolbar, then click Save As and unless you want to change the name of your File name just click Save. Be sure to choose from the options given where you want to save your file to. In the example below I am saving it to Work Folder but you can save it just to your Desktop if you prefer. Note that this will save it in PSD format which will enable you to have this file to come back to and edit if needed.

Now you need to save the file in JPG format. To do this, again click on File, then Save As, then change the format to JPG and click Save:

And here is your finished photo:

If you like more definition in the different foreground and background colors, just lower the feather radius from step 8 in the tutorial. Here is another photo of the same earrings using a lower feather radius of 30 instead of 110:

There are lots of other ways to individualize your photo. For example, I used a neutral gray foreground color in the example above. Here are some photos of the same image using blue and pink colors for the foreground:


Although I am far from being an expert in photo editing, I do hope this tutorial has been helpful! I have been using Photoshop for about 2 1/2 years and have learned to love it. But it has at times been a love-hate relationship. It is not a very intuitive program for someone like myself without any formal education or training in photo-editing. Put simply, it is not always easy to figure out what I am doing. I have learned and continue to learn techniques literally millimeter by millimeter. So this is why I wanted to share this one small technique.
I welcome questions, comments and feedback!
Till next time,
Irene
No comments:
Post a Comment